
Taking possession of a fixer-upper is one of the most rewarding milestones a property owner can experience, yet it is rarely as simple as television makeovers suggest. Behind the promise of hidden equity and historic character lies a labyrinth of logistical challenges, hazardous demo materials, compromised infrastructure, and tight scheduling constraints. When you acquire a home that has suffered from years of deferred maintenance, every square foot demands attention, often all at once.
The fatal mistake most novice renovators make is tackling aesthetic improvements before stabilizing the building’s essential bones. Painting over water-damaged drywall, installing high-end hardwood over uneven joists, or hanging designer drapery before sealing exterior penetrations inevitably leads to expensive rework and blown deadlines. Preparing a distressed property for move-in requires a disciplined, chronological methodology that moves logically from foundational safety and environmental controls to structural remediation, interior millwork, and final moving logistics.
Phase 1: Due Diligence, Site Safety, and Asset Protection
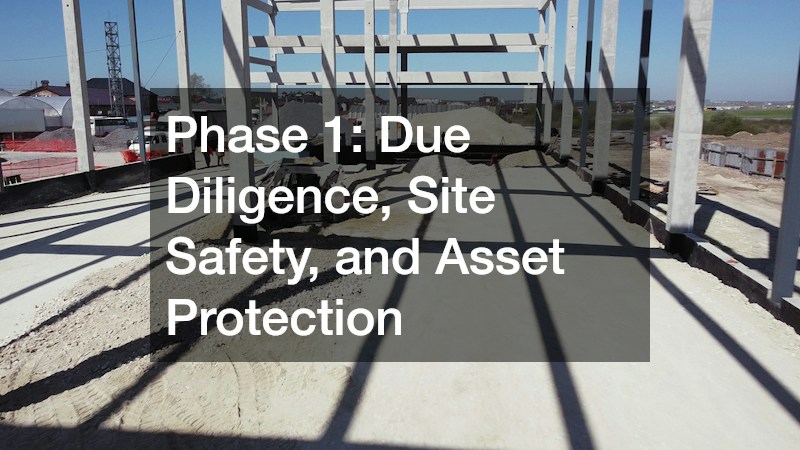
Before swing-stage demolition begins or heavy equipment rolls onto your parcel, establishing your risk profile and operational staging zones is paramount. Distressed properties carry unique liabilities ranging from fragile ceilings and outdated knob-and-tube wiring to open perimeter security risks that standard commercial policies decline to touch.
1. Navigating Binder Requirements and Structural Coverage
The transition period between purchase closing and actual physical occupancy introduces serious underwriting vulnerabilities. Traditional carriers assume a dwelling is occupied; if a catastrophic water event, electrical short, or theft occurs while the structure remains vacant for thirty consecutive days, your claim will almost certainly face immediate denial.
- Underwriter Consultation: Speak directly with an insurance professional to adjust your homeowners insurance policy with an active builder’s risk endorsement or a specialized dwelling vacant policy. This ensures that personal injury on site, vandalism, and structural work remain fully protected.
- Contractor Certificate Verification: Never permit a trade specialist on your grounds without obtaining a formal Certificate of Insurance naming you as an additional insured, carrying at least one million dollars in general liability and verified workers’ compensation coverage.
- Pre-Work Photo Audits: Conduct a comprehensive, date-stamped video walkthrough of every wall, subfloor, and external elevation to catalog baseline structural flaws before heavy trucks cause accidental secondary vibration cracks.
2. Establishing Demolition Waste Workflows
A major renovation generates an astounding volume of debris: brittle horsehair plaster, rusted plumbing, splintered lath, ancient linoleum, and rot-damaged framing lumber. Allowing refuse to pile up indoors or along perimeter walls introduces severe trip hazards, invites pest infestations, and violates municipal fire safety ordinances.
- Calculating Tonnage Needs: Estimate demo volume conservatively by planning for roughly fifty to seventy pounds per square foot of altered living space, opting for a 30-yard or 40-yard roll-off container rather than repeatedly filling small utility trailers.
- Municipal Waste Programs: Research regional clean-up incentives, as many townships and community revitalization initiatives offer a free dumpster rental voucher or complimentary disposal passes for historic restoration zones.
- Driveway and Utility Protection: Lay three-quarter-inch plywood sheets across driveways and staging aprons before containers arrive to avoid cracked concrete, and mark underground water mains or septic tanks with high-visibility flags to prevent crushing from dual-axle haulers.
Phase 2: Site Clearing, Grounds Work, and Outdoor Remediation
Curb appeal is often viewed purely as a marketing asset, but outdoor rehabilitation is genuinely about water diversion, foundation defense, and physical property access. Neglected properties are frequently besieged by invasive vegetation whose root systems penetrate perimeter drainage pipes, split foundation walls, and trap subterranean moisture against the sill plate.
1. Removing Overgrown Hazards and Establishing Perimeter Drainage
Reclaiming the land surrounding your home should happen while interior structural assessments are still being finalized. Heavy vegetation acts as a highway for wood-boring insects and conceals dangerous topography drops, open drywells, or hidden utility meters.
- Mechanical Vegetation Removal: Execute targeted land clearing across the immediate thirty-foot defensive perimeter around the home, taking down dead canopy limbs that threaten the roof and pulling thick ivy vines that trap humidity against exterior timber or masonry.
- Grading Away from Foundations: Ensure that the surrounding subgrade slopes away from the perimeter foundation walls at a minimum descent of six inches over the first ten feet to eliminate standing surface water.
- Clearing Root Intrusions: Grub out deep stumps and aggressive root balls that have compromised weeping tiles, and establish clear sightlines for future mechanical deliveries and scaffolding setups.
2. Rehabilitating Distressed Turf and Depleted Soil Systems
Years of abandonment leave acreage compacted, barren, and overrun with stubborn weed varieties that erode topsoil during heavy downpours. Once ground-clearing machinery completes the rough grading, soil stabilization must be initiated to protect the freshly sculpted contours.
- Comprehensive Soil Testing: Extract core samples from various sectors of the property to evaluate pH balance, phosphorus concentrations, and organic matter ratios before sowing turf blends.
- Aeration and Nutrient Replenishment: Retain professional fertilization services to aerate hard-packed clay soils, balance the chemical profile, and administer slow-release nitrogen inputs that stimulate robust root development across troubled lawns.
- Erosion Control Implementation: Anchor sloped zones with biodegradable jute netting, straw wattles, and hydroseeded deep-root grasses to prevent loose topsoil from washing into freshly cleared drainage trenches.
Phase 3: Structural Integrity and Building Envelope Stabilization
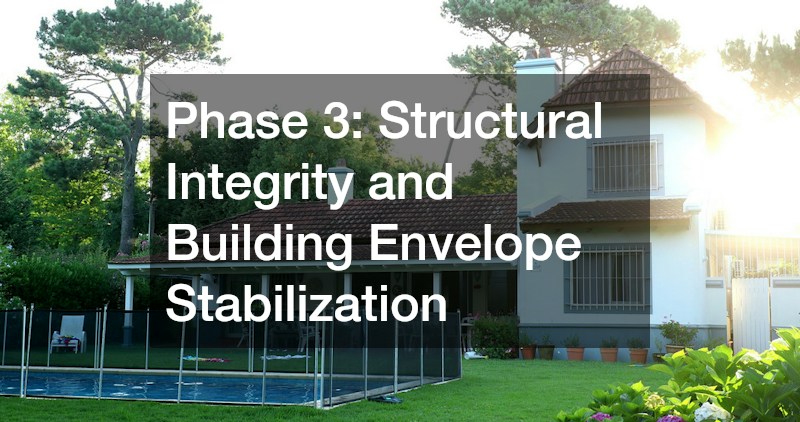
With the exterior perimeter secured and clean staging lanes cleared, focus pivots entirely to the structural chassis of the dwelling. Fixer-uppers routinely exhibit sagging roof ridges, unlevel floors, failed headers, and inadequate mechanical chases that must be rebuilt to current structural standards.
1. Correcting Deflections, Sagging Girders, and Architectural Framing
Old framing members often suffer from amateur modifications, unpermitted wall removals, and localized rot from historic roof leaks. Before new finishes are applied, the home’s structural framing must be squared, level, and capable of handling static and dynamic live loads.
- Evaluating Sagging Spans: Inspect main center beams and joist pockets with laser levels, noting whether floor deflections stem from undersized structural spans, settlement of masonry piers, or notched joists cut to accommodate outdated waste pipes.
- Shoring and Heavy Timber Remediation: Partner with an experienced timber frame contractor to execute controlled hydraulic jacking, sistering broken rafters, and restoring complex traditional mortise-and-tenon joins in historic framing.
- Load-Bearing Header Upgrades: Replace unrated door and window framing spans with engineered laminated veneer lumber headers to support upper stories without wall bowing or header deflection.
2. Modernizing Thermal Envelope and Climate Infrastructure
Many older structures rely on antiquated, inefficient gravity furnaces, leaking hydronic radiators, or inadequate window air conditioning units that cannot regulate modern humidity loads. Installing high-efficiency, fully balanced thermal equipment ensures year-round comfort and guards against mold colonization within walls.
- Manual J Load Calculations: Never guess system sizes; demand an engineered Manual J calculation that balances total cubic footage, insulation R-values, window glass performance, and regional climate extremes to prevent short-cycling.
- Mechanical Duct Routing: Prioritize a whole-home AC installation before closed-wall insulation, running rigid galvanized supply lines and generous return air ducts through interior partition walls or unconditioned attic spaces.
- Condensate and Drainage Safety: Insist on primary and secondary overflow condensate lines equipped with automatic float-switch shutoffs to prevent hidden attic drain leaks from ruining fresh ceiling plaster.
Phase 4: Enclosure, Pest Defense, and Window Optimization
The building envelope serves as the home’s primary defense against driven rain, drafts, and pests. Distressed properties frequently suffer from cracked glazing, corroded exterior frames, warped openings, and broken porch screens that allow insects and moisture to penetrate the interior envelope.
1. Restoring Outdoor Living Areas and Enclosures
Screened porches, sunrooms, and breezeways offer invaluable extra square footage, but after years of neglect, their framing rails rot, and screens tear away from their splines. Addressing these seasonal living zones creates clean, insect-free staging areas for tools and materials while interior work progresses.
- Inspecting Framing Rails and Spline Tracks: Examine the integrity of peripheral framing, identifying areas where moisture has rotted cedar or aluminum framing channels and caused screen tension failure.
- Mesh Replacement and Re-Tensioning: Hire a reputable screen repair company to swap out torn, oxidized mesh with durable vinyl-coated polyester screening that resists pet claws and heavy storm winds.
- Perimeter Pest Proofing: Seal gaps between the deck floorboards and exterior siding using metal flashing and elastomeric sealants to eliminate subterranean entry points for hornets, mice, and mosquitoes.
2. Weatherproofing Openings and Exterior Accents
Windows represent one of the most significant sources of thermal exchange and structural water leaks in a neglected property. Restoring the exterior millwork, window surrounds, and protective coverings bridges the gap between historical character and modern energy standards.
- Flashing and Sill Reconstruction: Scrape out failing caulking along window crowns and sub-sills, installing new drip caps and replacing spongy sill lumber with decay-resistant cellular PVC or rot-treated hardwood.
- Hardware Anchoring and Alignment: Mount functional exterior shutters to provide vital storm deflection, authentic architectural curb appeal, and adjustable shading that mitigates peak solar heat gain on south-facing glass.
Phase 5: Interior Finishing and Architectural Millwork

Once mechanical inspections have passed, insulation is sealed, and drywall is taped and finished, a fixer-upper finally enters the rewarding phase of fine trim carpentry and interior detailing. This is where the visual identity of the home takes shape, demanding careful execution to hide the quirks of a settling building.
1. Perfecting Light Control, Privacy, and Thermal Insulation
Historic windows are rarely true, plumb, or square. Standard off-the-shelf treatments rarely hang correctly, leaving unsightly light gaps and failing to provide thermal resistance against aging window sashes.
- Taking Precision Jamb Measurements: Measure interior frame widths and heights across top, middle, and bottom spans to accommodate natural building settlement and out-of-square conditions.
- Selecting Custom Fenestration Solutions: Commission custom window shutters built to your exact jamb dimensions, which creates clean architectural sightlines, superior privacy, and an insulating dead-air pocket against exterior glass.
2. Baseboards, Door Frames, and Millwork Integration
In older residences, flooring often dips while door openings bow. Experienced carpenters must rely on scribe-molding, plinth blocks, and strategic shimming to create an optical illusion of absolute plumb and level throughout the home.
- Scribing Trim to Unlevel Surfaces: Scribe baseboards and casing profiles along uneven wood floors or wavy plaster walls, removing small strips of material with a jigsaw for tight, continuous seams without massive caulk joints.
- Plinth Blocks for Door Transitions: Install robust base plinths at the bottom of interior door casings to seamlessly marry modern, thicker baseboard profiles with narrow historic door mouldings.
Phase 6: Deep Cleaning, Move Logistics, and Turnkey Handoff

The final stage of preparing a restored property is the most physically demanding and logistically sensitive. Moving furniture and personal belongings into a home filled with fine drywall dust or damp paint finishes will quickly ruin both your new finishes and your prized possessions.
1. Mitigating Construction Dust and Preparing Finished Surfaces
Drywall compound, sawdust, and masonry slurry generate microscopic particulates that settle inside floor crevices, HVAC vents, and interior cabinet boxes. Running ordinary household vacuums only scatters these particles back into the ambient air, irritating lungs and coating surfaces.
- HEPA Air Scrubbing: Run industrial commercial air scrubbers equipped with certified HEPA filters for forty-eight hours after final sanding to capture suspended airborne silica and particulate debris.
- Two-Step Mechanical Deep Clean: Perform a preliminary vacuum sweep from top to bottom across ceilings, cornices, window jambs, and floors, followed by a damp microfiber wipe-down of all hard vertical surfaces, drawers, and cabinet shelves.
- HVAC Filter Swaps and Coil Cleaning: Remove all temporary cardboard return-air filters used during construction and replace them with high-efficiency MERV-13 filters, verifying that evaporator coils remain free of drywall residue.
2. Executing a Stress-Free Relocation Workflow
Navigating heavy furniture up narrow historic stairwells, over freshly finished hardwood floors, and through newly trimmed entryways requires careful coordination and protective supplies.
- Floor and Surface Defense: Tape interlocking heavy-duty floorboards over hardwood and tile walkways, and secure padded neoprene sleeve guards around high-traffic door jambs to prevent impact gouges.
- Vetting Professional Transporters: Contract an insured, seasoned moving company capable of orchestrating staged loading sequences, utilizing air-ride suspension trucks, and providing specialized hoists for oversized pieces.
- Prioritizing Move-In Day Essentials: Direct movers to set up the primary bedroom suite and main bathroom first, ensuring clean linens, toiletries, and basic comforts are functional the very first night so you are not left unboxing critical items in exhaustion.
